Ever wondered what apps your favorite Instagrammmers use to get those editorial, film-inspired, aesthetically pleasing posts? Here are the top four apps re ommenxed by some of the top bloggers (and little old moi) when it comes to making your photos look Insta-worthy.
Facetune
If you have a facial emergency (aka a pimple, which I'm no stranger to unfortunately), the healing tool on Facetune is a total lifesaver! I know people who edit the heck out of their selfies, smoothing every imperfection and making their teeth three shades too white, but when used correctly, Facetune can be the perfect tool to polish up an unsightly photo.
Best Tools:
Patch
Smooth
Whiten


Snapseed
I first downloaded this app when my sweet friend Shelby Sorrel showed it to me over coffee one day. I love that lets you use a brush tool to enhance the colors of one part of the image, making things really stand out if you want them to. It also has a bunch of other basic edits like crop, perspective, and healing which is great for removing distractions from the background of photos.
Best Tools:
Brush - Saturation
Healing
VSCO
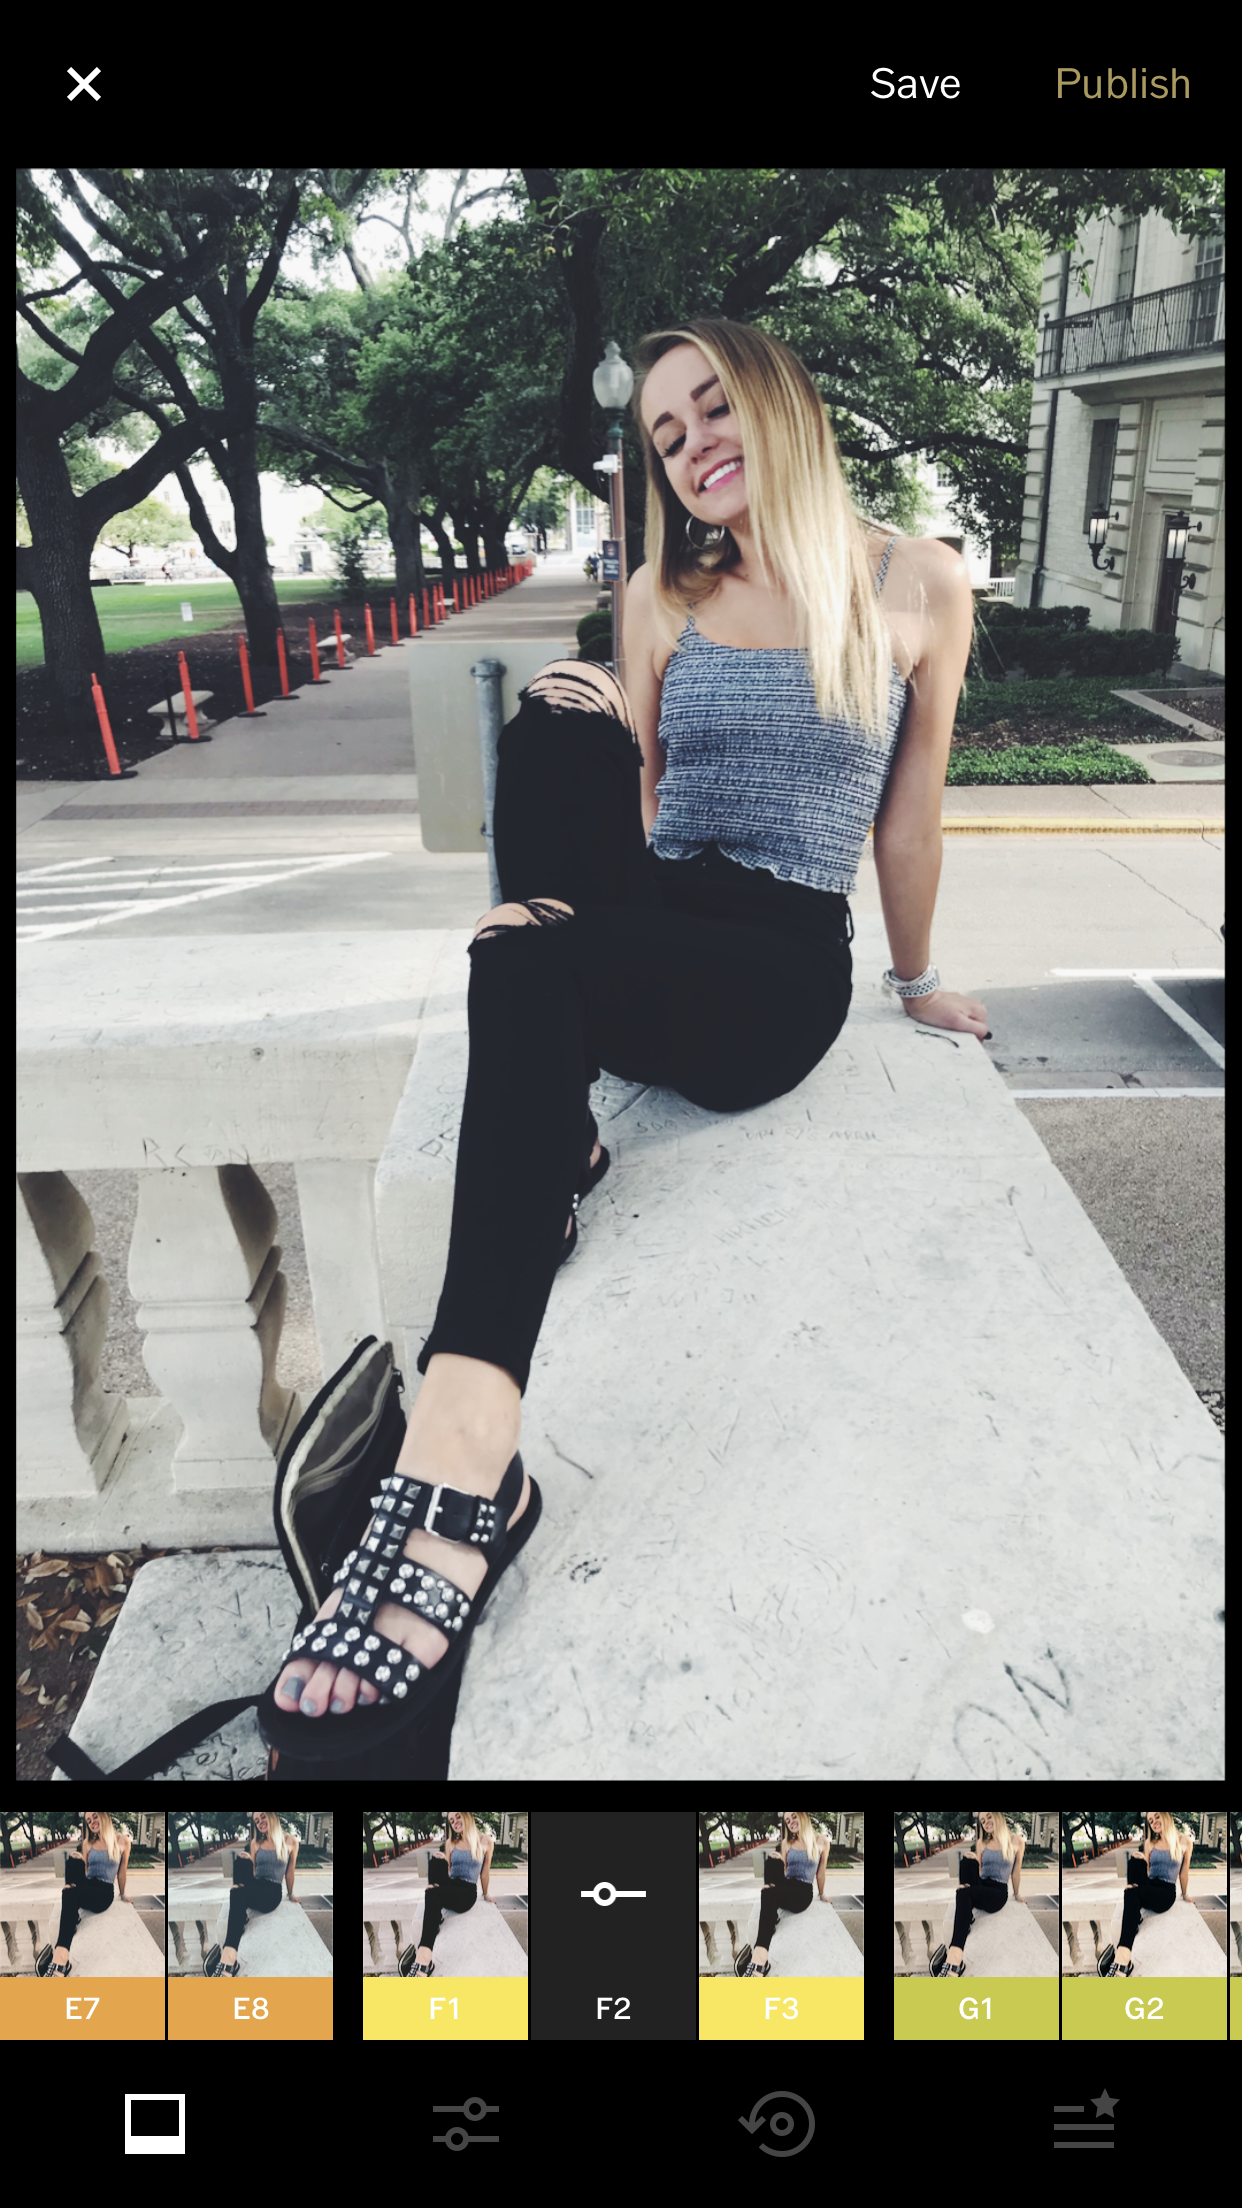
When it comes to adding the perfect effect to your photo, VSCO has it all! I love this app so much that I've actually gone onto their company website and downloaded presets that I use while editing my photos for Maddy Hill Photographics. I used to use Afterlight for adding effects to my photos, but I found that VSCO has way more options and they look more natural than many of the Afterlight effects.
Best Effects:
HB2
F1
C3
S2
A Color Story
My new favorite for filters that are more color-based and less film-inspired. They have so many fun filters to play with and effects you can add on top of photos to dramatize them and give them a bold colorful effect.
Best Color Packs
Seasons
Golden Hour
Planoly
How do Instagrammers, content curators, and social media managers seem to have the perfect grid? Instagram planning tools such as my favorite, Planoly! This app lets you plan your grams, add filler boxes, and schedule/post from the app. I love to use this for planning blog Instagrams and seeing how everything looks side by side.
Other Editing Tips
Brighter is better. I've found that the most aesthetically pleasing feeds consistently post bright, light photos. You don't have to have a white-focused feed to have a bright and airy vibe, but be sure that you're shooting with plenty of light. This will increase the quality of your photos and make them look better when people are scrolling. I always brighten my photos a little in Instagram before I post.
Don’t over-edit. Everyone can tell, and they’re probably judging you because haters gonna hate.
Use a heavy filter if you want a cohesive aesthetic. The number one mistake people make when trying to redo the aesthetic of their Instagram is not using a filter that is heavy enough on their photos. They heavier the filter is (I.e. the more it changes the colors, contrast, and tone of a photo), the quicker it’s going to make your feet look like it was all cohesively planned.
Never post horizontal photos. Horizontal photos take up less room on Instagram than vertical and square photos.
I love editing photos for social media and do it my friends all the time! If you need help editing a photo or want me to do it for you, just DM me on Instagram at @missmadds_xo. Be sure to share this post with any friends looking to become Instagram photo editing pros!


